The Zenith JFET Phaser is adapted from the MXR® Phase 90, unquestionably the most popular phaser pedal of all time. Originally released in 1974, the Phase 90 was most famously used by Eddie Van Halen, particularly on “Eruption”. Other contemporary users in the 1970s included Robin Trower, Jimmy Page and David Gilmour, but both the originals and the later Dunlop reissues have been used by scores of others notable guitarists over the past 50 years.
The control scheme of the original pedal is as simple as it gets: a single knob for Speed. Despite this external simplicity, there’s a lot going on inside, particularly for its size. The Phase 90 uses JFETs as voltage-controlled resistors to vary the frequency of four phase-shifted stages, which produces a moving filter effect. As such, the JFETs must be matched so that they produce a similar drain-source resistance with the same gate voltage, keeping the filters of all four stages moving at the same rate.
In 1977, the pedal was redesigned, both cosmetically and internally. The original pedal used a cursive or “script” typeface. The new design used the now-familiar “block” logo which is still in use today. Right around the same time, a feedback resistor was added to mix some of the output of the phase stages back into the input, which creates a more pronounced resonant peak. Some people like this effect and some don’t. Many guitarists began their DIY journey by cutting out the “R28 resistor” (as it was labeled on the MXR PCB, not this project) to convert their block logo to script logo specs.
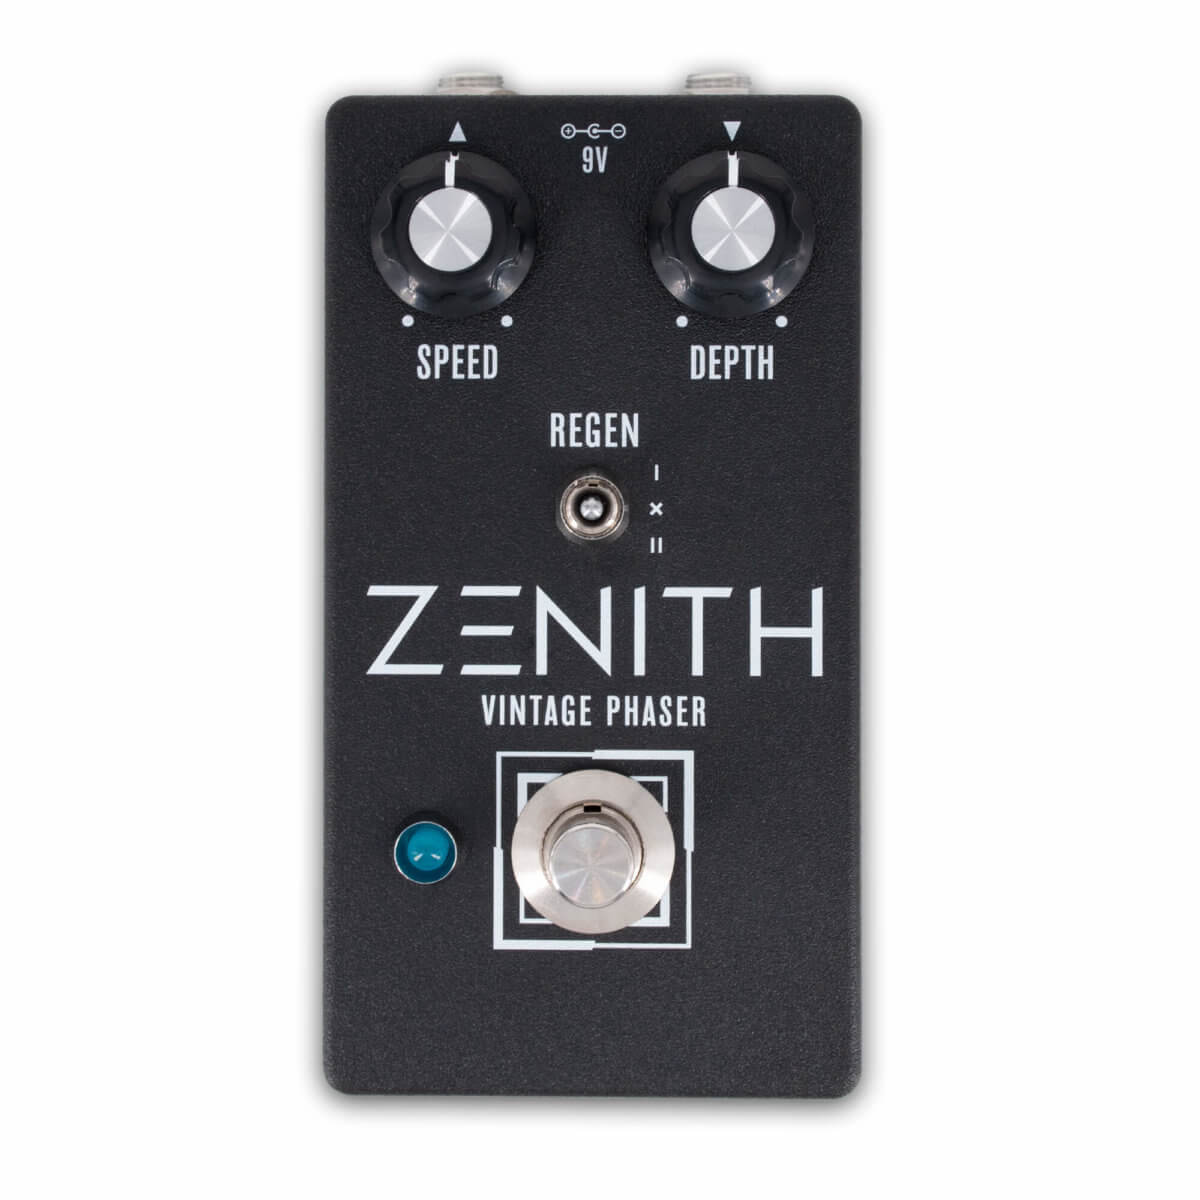
Our adaptation adds a Depth knob and puts the regen (feedback) resistor onto a toggle switch so you can go between Script and Block modes without the use of wire cutters. A third position has been added so you can change the intensity of the regeneration.
We also added a volume trimmer at the output, since these modifications can impact the perceived output volume. The build notes contain suggestions for how to make the most of these modifications.