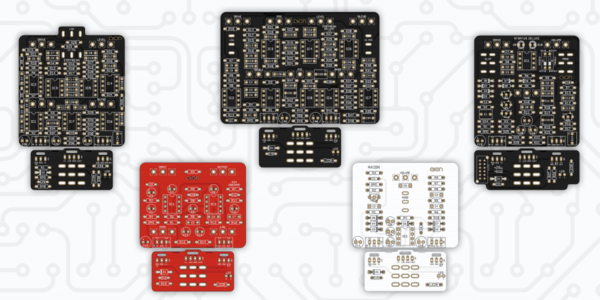
Input/output module kits & enclosures now available
If you’ve been building pedals for awhile, you’ve probably found that there are parts of pedalbuilding that you enjoy and other parts that are not so fun. For me, wiring—by which I mean measuring, cutting, stripping, tinning and soldering—always fell solidly into that second category.
Since day one, Aion FX projects have always used PCB-mounted potentiometers and switches to avoid the most tedious type of wiring. A 3PDT breakout board has been available for almost as long, and the new 125B-format projects come with one of these bypass boards as standard. But although wiring was greatly reduced, it was still a part of the process and still not very fun.
A new way to build
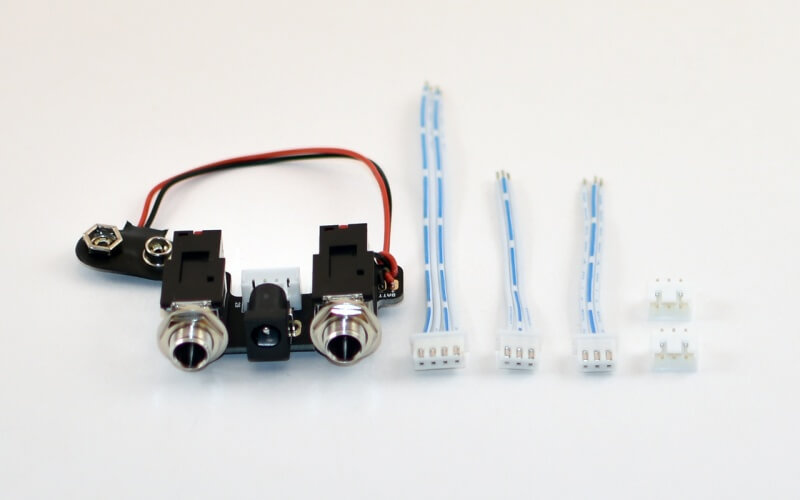
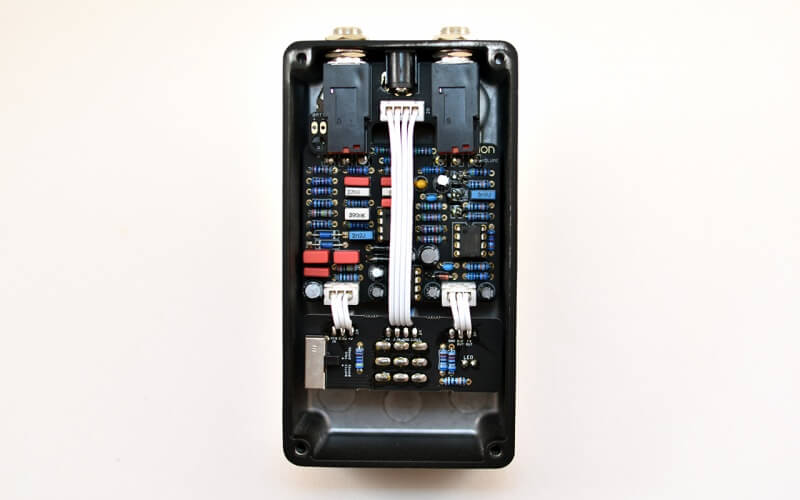
With the new kits, one of the major goals was the elimination of wiring. To that end, the 125B platform was designed around wire headers & assemblies and PCB-mounted hardware so that wiring is just as easy and straightforward as any other part of the build. The wire assemblies and headers are now just components like anything else. There’s one way to install them and zero decisions that have to be made.
But there was one problem: the new assembly process was not very DIY-friendly, particularly due to the use of the PCB-mounted DC jack that require a square cutout for the enclosure. Cutting a square hole is extremely time-consuming and not really worth the effort, so until now the assembly system has been exclusive to the kits.
Introducing the I/O module kit
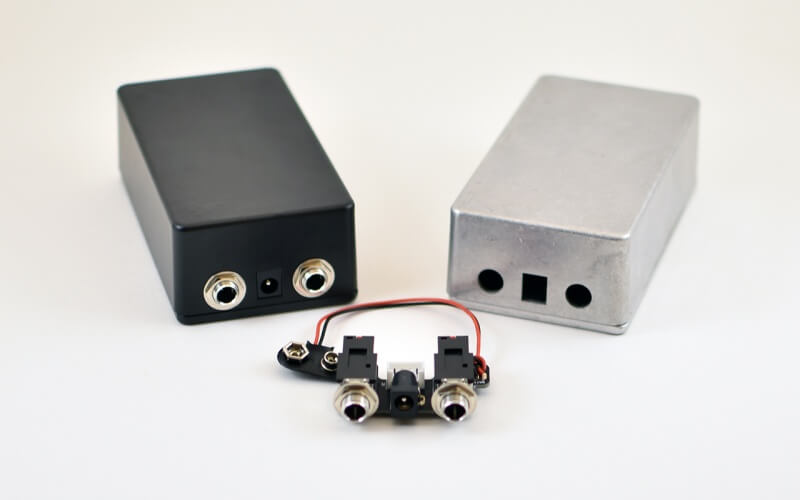
In order to make this system into something that could be used for other 125B projects, the biggest piece of the puzzle was getting enclosures with the I/O holes pre-drilled. That piece has fallen into place and I now stock these enclosures, so you can now order the I/O module kits and enclosure (available in either black or bare aluminum). Note that you’ll still have to drill the front panel according to the drill template for the project. Pre-drilled enclosures will be coming at some point, but not yet.

Does it save time building? Probably a little, especially after you’ve done it more than once, but to be honest, it’s not night-and-day. There’s still work involved in getting everything assembled, it’s just a different type of work. However, it does have one major advantage: standardization—or to put it differently, the elimination of decisions.
One other huge advantage is simple disassembly. If you need to troubleshoot or modify the pedal, no desoldering is required. Just disconnect the wire headers, unscrew the potentiometers from the front panel, and pull out the main PCB. This makes “rock it before you box it” unnecessary. Go ahead and install it to the enclosure before testing it. If it doesn’t work, it’s extremely easy to get it back out of the box.
So that’s it. Many people who have built the new kits have told me it’s hard to go back to the old way of wiring when building other types of pedals. So I’m really excited to finally be able to share this new system with the broader DIY community!
